So for one, I noticed that you have to let them sit for 12-18 hours after you make them. Okay fine, I made them Friday night and figured I would relish in the amazing power of Vicks on Saturday.
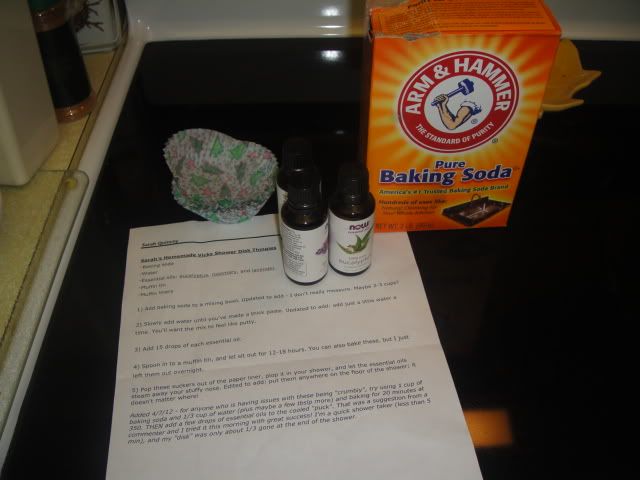
Alright, directions and ingredients. No tunes, I'm too sick to even enjoy music.
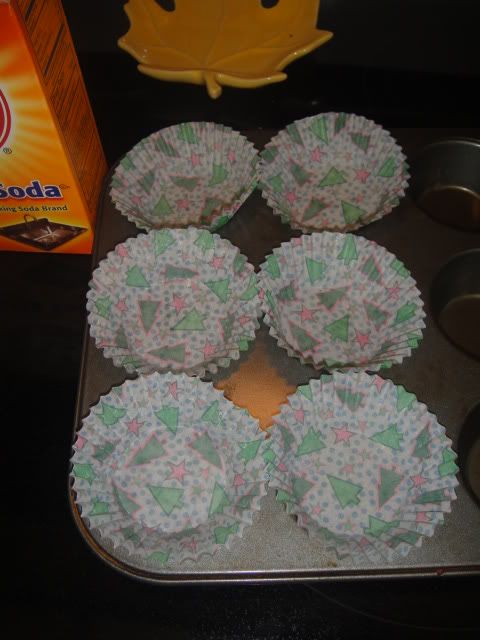
Now my first problem with this recipe is that I hate people who make these instructions and then don't inform people of the exact measurements. This person is like, "Oh put some baking soda in a bowl, I didn't measure." Then why the eff are you sharing?! Someone isn't like, "Oh yeah, okay.. I'll just use this imaginary amount, that sounds good." Idiots. So I figured I would start with 6 and if I needed more, just add it.

This is me, feeling like poo. Kill me now.
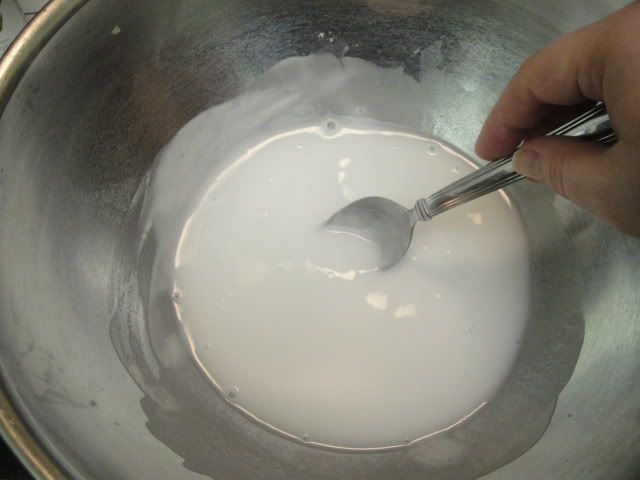
Okay so then you add water and mix it, not too hard.
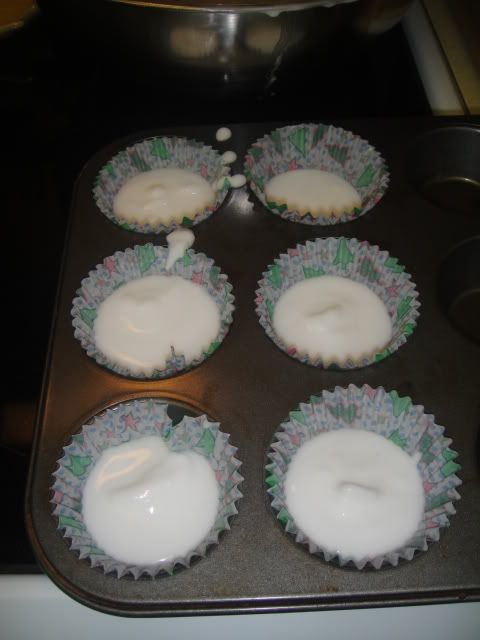
Then you fill the little cups, I think my estimation was perfect, with 6 disks.
So then I followed the recipe at the bottom where she suggested baking them first, then adding the oils, as other people said they had a problem with them crumbling and this would solve that.........
NOT!
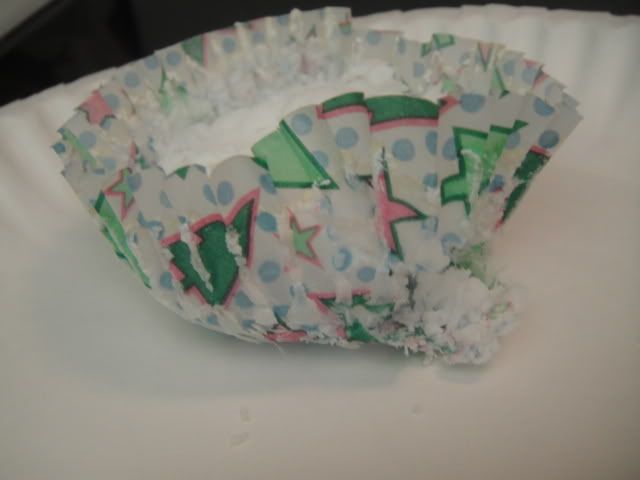
I go to take them out of the tin and they tear apart, sure my liners were thin and maybe if I used those metal ones or something thicker, it wouldn't be as big of an issue. But also, "HEY MENTION THAT IN THE DIRECTIONS!" I ended up using a spoon to kind of scoop them out.
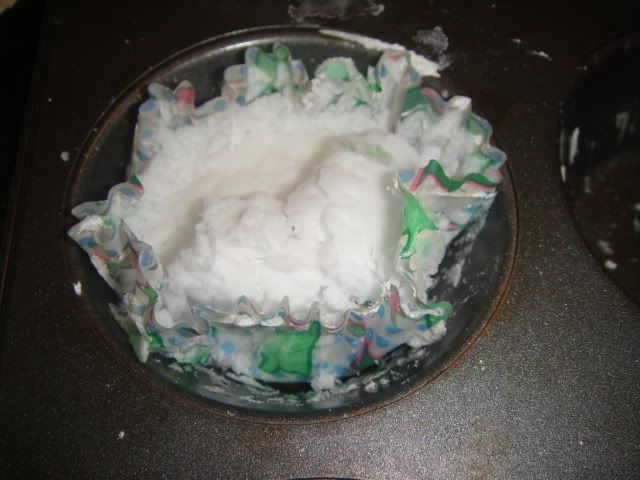
This is what I'm left with. Faaaaab. This is off to a wonderful start.
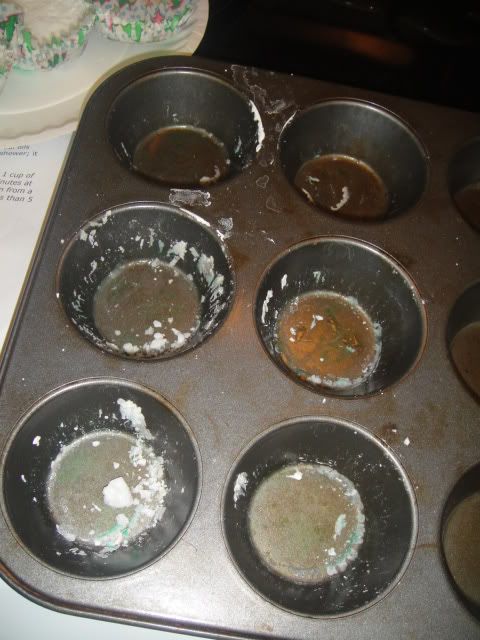
Then this is what's left. Nothing I love to do more, when I'm sick as a dog, than have more cleaning to do.
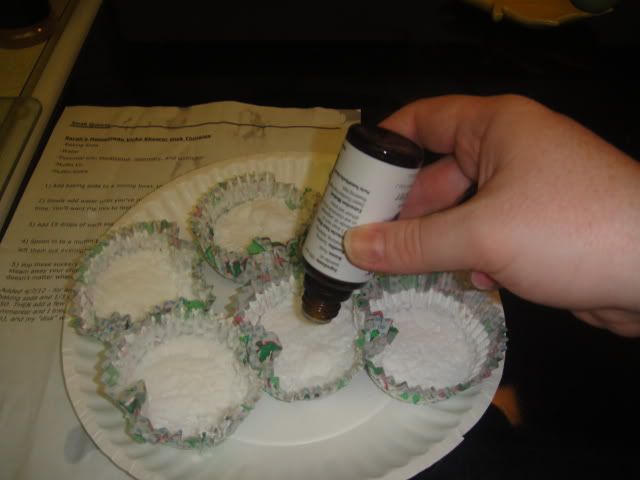
So then I let them cool for a while and added my essential oils. I didn't have rosemary and didn't want to go to the health store just for that, so I substituted peppermint instead.
Now I let them sit overnight and I was hopeful as I left them in my kitchen and anytime I walked past, I smelled them and it was heavenly to my snot-filled nose. So I was super excited to use them in my shower on Saturday...........
Cut to THIS! Piece of CRAP! I grab my first disk and then start to remove the liner and it completely turns to a crumbly mess. Are you frikken KIDDING me?
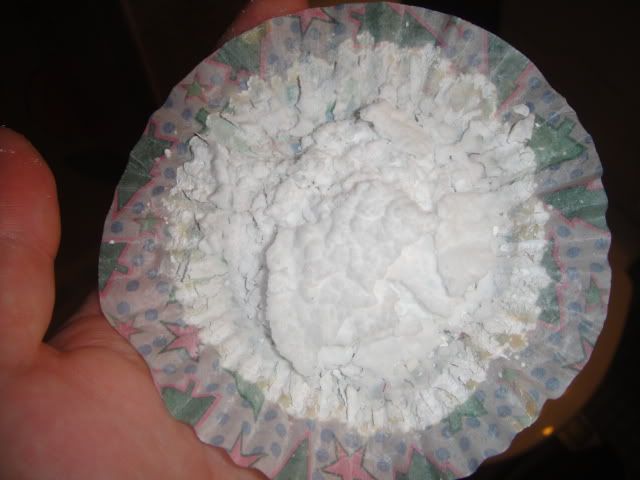
I end up just pouring it out into my hand and throwing in a corner of my shower.
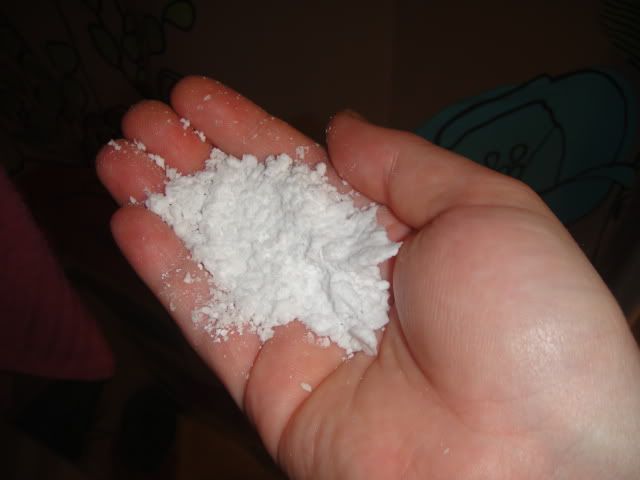
Nailed it. NOT
I figured maybe it doesn't matter, it'll work just as good. It doesn't. I couldn't smell it at all. It washed down the drain pretty quickly anyways. Stupid junk. Don't do this, waste of time and expensive essential oils.

Baking would evaporate the water.
ReplyDeleteYou need a very thick paste. While it dries water collects on top if it isn't thick enough. I didn't use liners. I used a pan just for essential oil use. Not something to do on a humid day.
I completely agree with you! Ive been trying to make these all week as Valentine's Day gifts for all my sick friends and Ive tried every way and nothing works. I had them sit out. I put in more baking soda to make a thicker paste. I baked them. I put them in liners. All of it turns out like crumbles like yours. Im fed up as well.
ReplyDelete~Becky
I'm sorry you had issues too. So frustrating!!
DeleteI make these in silicon liners and bake them forever...I'm talking hockey pucks here. Probably 45 minutes or so at 350, you can slightly poke them with your finger when the time is up and if it leaves an invention keep baking those bad boys. I tried this so many times with the paper liners and had the same results you did. It's the silicon liners that make the difference. I add the oils last after the pucks have cooled and they work great, I find that baking them instead of waiting 3 years for them to air dry works great and they last longer in the shower. I don't use any liners whatsoever and they pop right out. Also I add a couple of table spoons of cornstarch to the mix and it really improves how they stay together. If your afraid they still aren't done, then let them sit for a day out in the open if you have time. It really doesn't matter how much baking soda you use as long as you get the consistency of thick putty, it just depends on how many you want to make. I hope this helps and really from experience baking is key!
ReplyDeletedinergirl - In your first sentence you say you make them in silicon liners and later in your comment you say you don't use any liners whatsoever. Do you mean that you make them in silicon pans without liners? The blog I got the original recipe from shows paper liners but those just shred.
Deletedinergirl is correct, cornstarch is the way to keep them from crumbling.
ReplyDeleteSquince - LOVE your blog! This is exactly what happened to me, I followed the directions exactly and wasted a lot of $$$ on the oils. Soooo disappointed!
ReplyDelete