Sunday, September 16, 2012

Vicks Vapor Shower Disks - LIES!

So I've always kept this Vicks Vapor Rub Shower Disks DIY project in my head for sometime when I get a cold, that time is now. My head is full of boogers and germs and anything else that sucks at life. I've been miserable all weekend and so Friday night I decided to make these. There's nothing I love more than Vicks, it's just so wonderful, so this is bound to be a win, right? WRONG!

So for one, I noticed that you have to let them sit for 12-18 hours after you make them. Okay fine, I made them Friday night and figured I would relish in the amazing power of Vicks on Saturday.
Photobucket
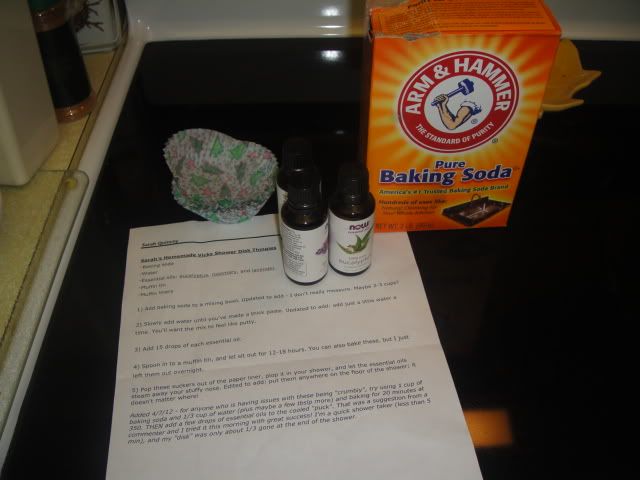
Alright, directions and ingredients. No tunes, I'm too sick to even enjoy music.
Photobucket
Now my first problem with this recipe is that I hate people who make these instructions and then don't inform people of the exact measurements. This person is like, "Oh put some baking soda in a bowl, I didn't measure." Then why the eff are you sharing?! Someone isn't like, "Oh yeah, okay.. I'll just use this imaginary amount, that sounds good." Idiots. So I figured I would start with 6 and if I needed more, just add it.


Photobucket
This is me, feeling like poo. Kill me now.
Photobucket
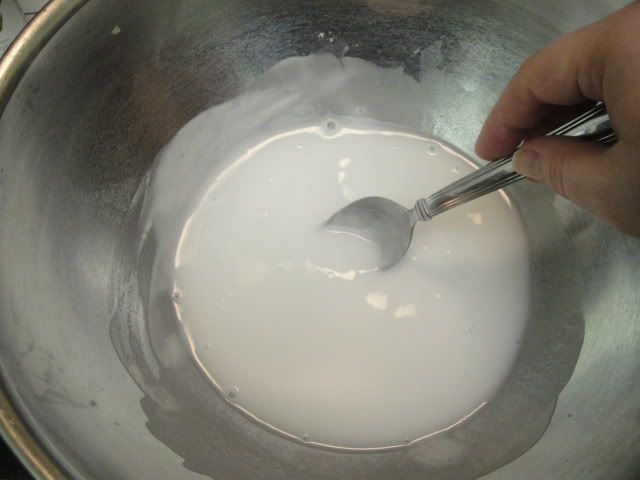
Okay so then you add water and mix it, not too hard.
Photobucket
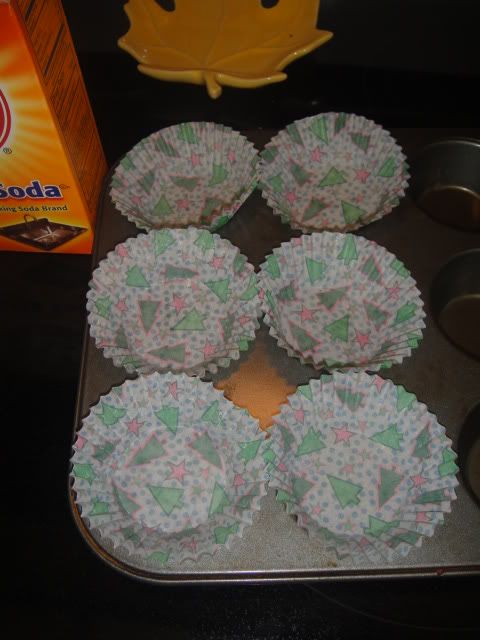
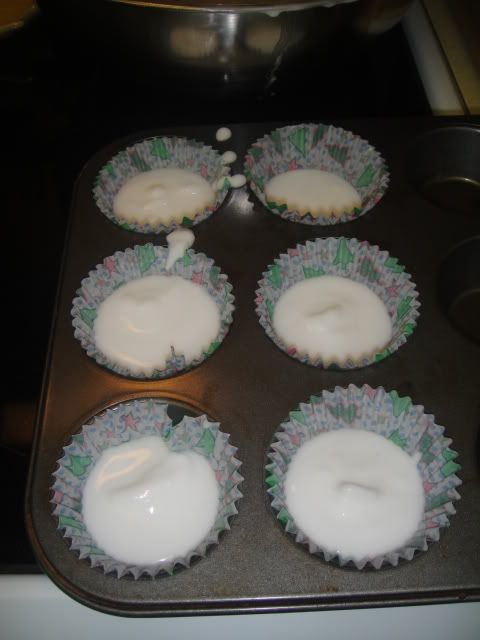
Then you fill the little cups, I think my estimation was perfect, with 6 disks.
So then I followed the recipe at the bottom where she suggested baking them first, then adding the oils, as other people said they had a problem with them crumbling and this would solve that.........


NOT!
Photobucket
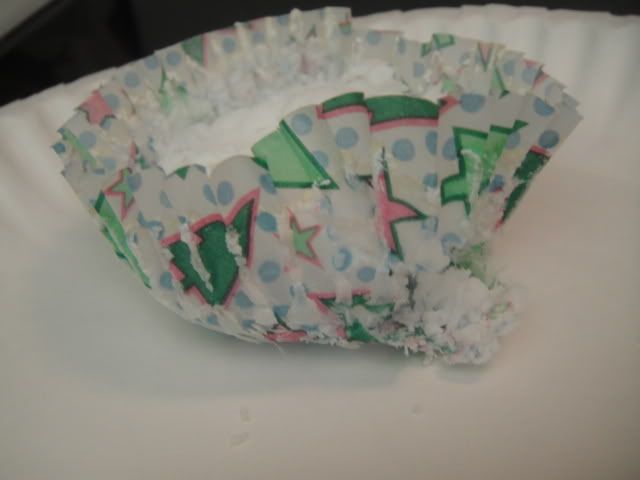
I go to take them out of the tin and they tear apart, sure my liners were thin and maybe if I used those metal ones or something thicker, it wouldn't be as big of an issue. But also, "HEY MENTION THAT IN THE DIRECTIONS!" I ended up using a spoon to kind of scoop them out.
Photobucket
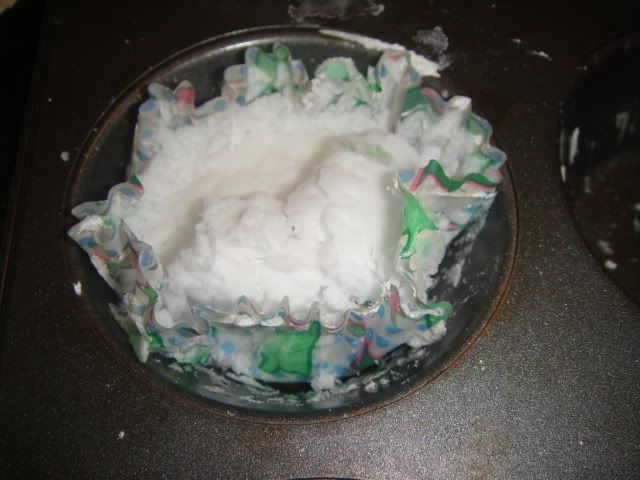
This is what I'm left with. Faaaaab. This is off to a wonderful start.
Photobucket
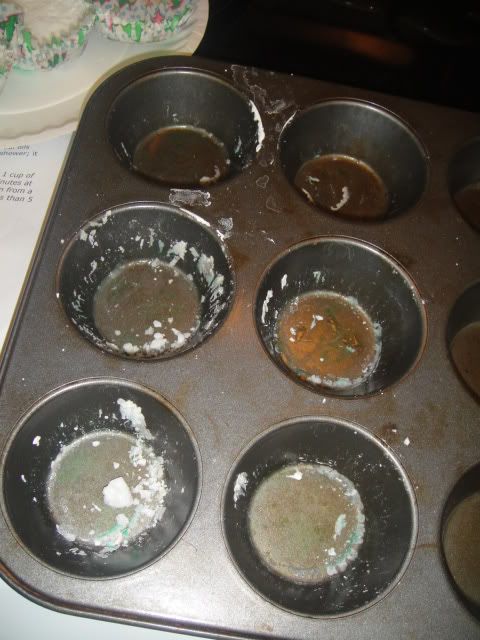
Then this is what's left. Nothing I love to do more, when I'm sick as a dog, than have more cleaning to do.
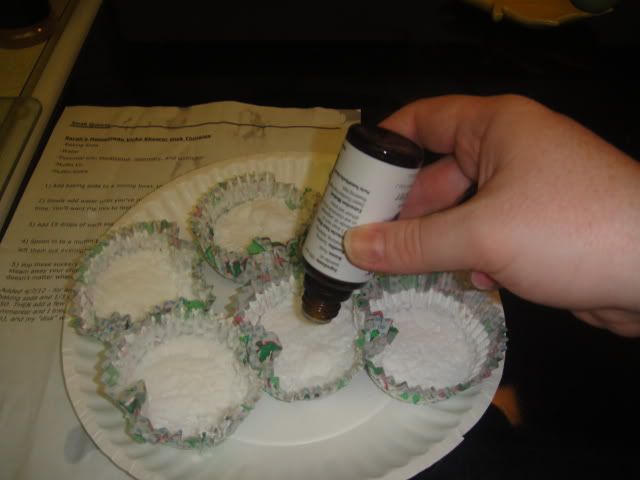
Photobucket
So then I let them cool for a while and added my essential oils. I didn't have rosemary and didn't want to go to the health store just for that, so I substituted peppermint instead.

Now I let them sit overnight and I was hopeful as I left them in my kitchen and anytime I walked past, I smelled them and it was heavenly to my snot-filled nose. So I was super excited to use them in my shower on Saturday...........


Cut to THIS! Piece of CRAP! I grab my first disk and then start to remove the liner and it completely turns to a crumbly mess. Are you frikken KIDDING me?
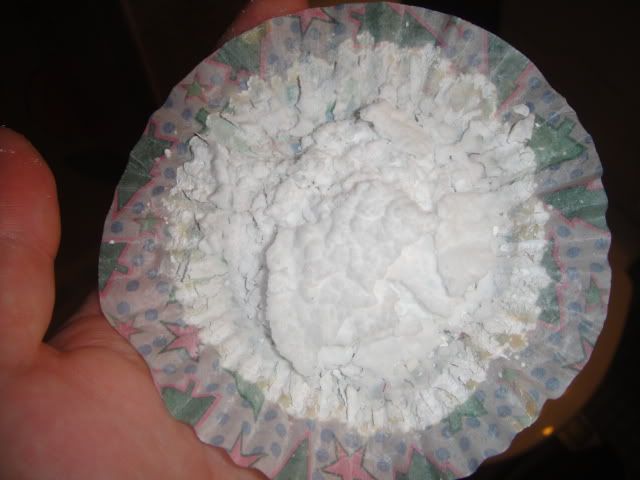

Photobucket

I end up just pouring it out into my hand and throwing in a corner of my shower.
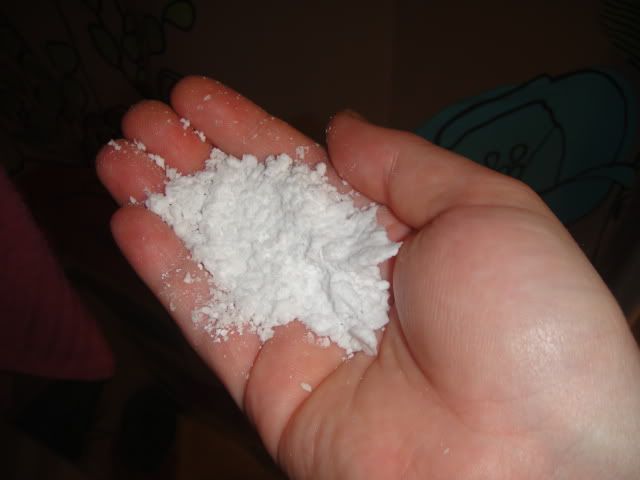
Photobucket

Nailed it. NOT


I figured maybe it doesn't matter, it'll work just as good. It doesn't. I couldn't smell it at all. It washed down the drain pretty quickly anyways. Stupid junk. Don't do this, waste of time and expensive essential oils.
Crock Pot Chicken & Biscuits

Alright, this is delayed because I made this earlier this week but I've been busy with starting a new job and now I've caught a cold and I just haven't gotten around to it until now! Plus I was unable to upload pictures for a while, for some reason, but that's now fixed so here I am! My head is full of snot and medicine, so I probably won't be as witty.

Alright, so I've had this Crock Pot Chicken & Biscuits recipe saved for a while but the problem is, you're supposed to cook in the crockpot for 2-3 hours so it's not one I could make before I go to work and have it ready when I get home, I needed to make it on a weekend, so I finally did last weekend!

Photobucket
It called for some cream of chicken soup, which looks so revolting when you slop it in. Mmm lard.

Photobucket
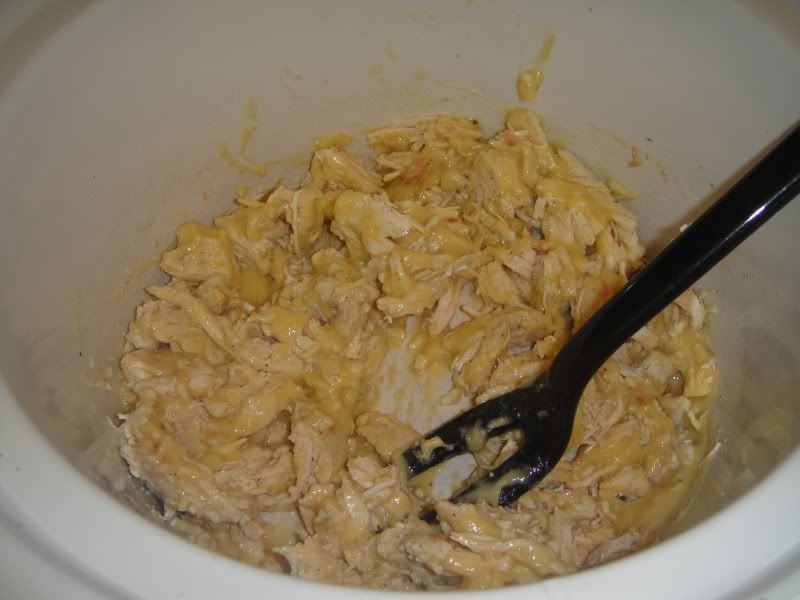
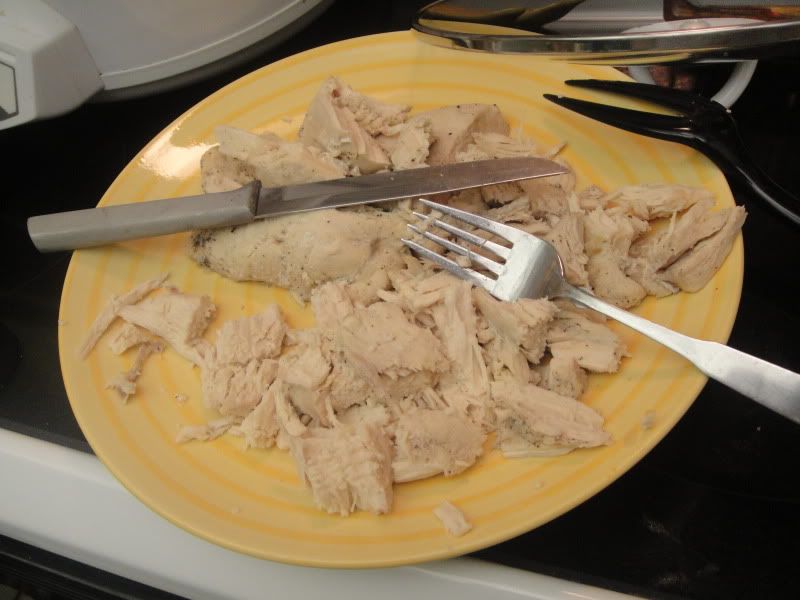
Since I had all day, I put some chicken breasts in the crockpot in the morning and cooked them for a few hours. The worst part is cutting it up!

Photobucket
Ooooh look who's here!

Photobucket
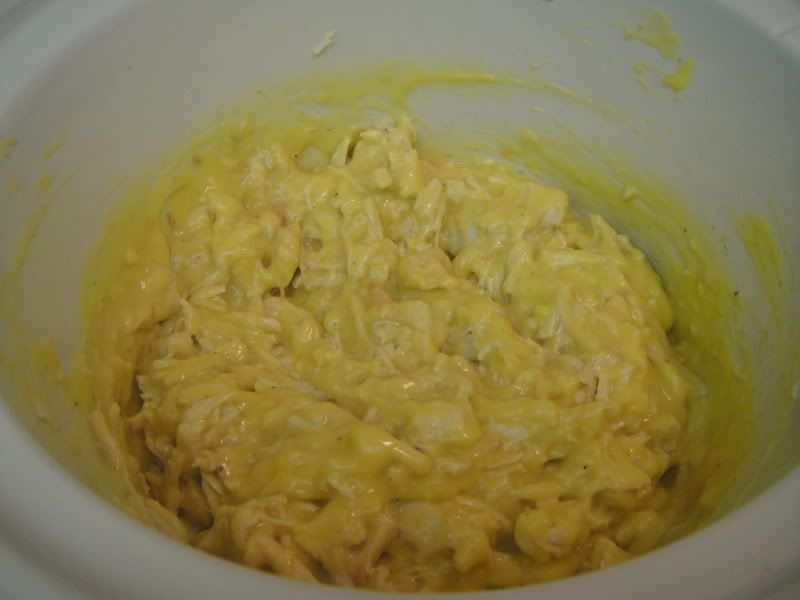
So I mixed everything together as directed and realized I didn't think it was soupy enough. I determined that after a couple hours, it would be pretty thick and dry, so I opted to add another can of cream of chicken.

Photobucket
There, that looks better.

Photobucket
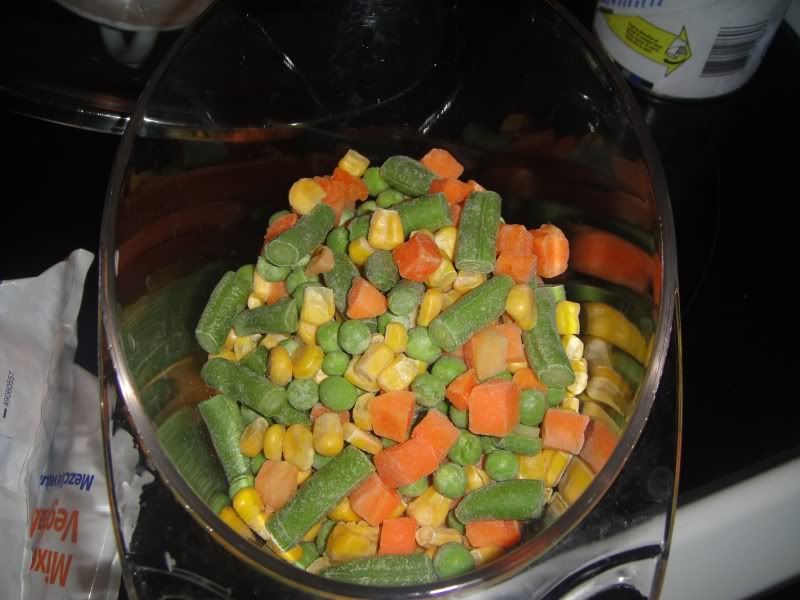
Mmm mixed veggies and I found the kind without lima beans! Seriously, who's idea was it to add lima beans to it? Barf-a-roni.

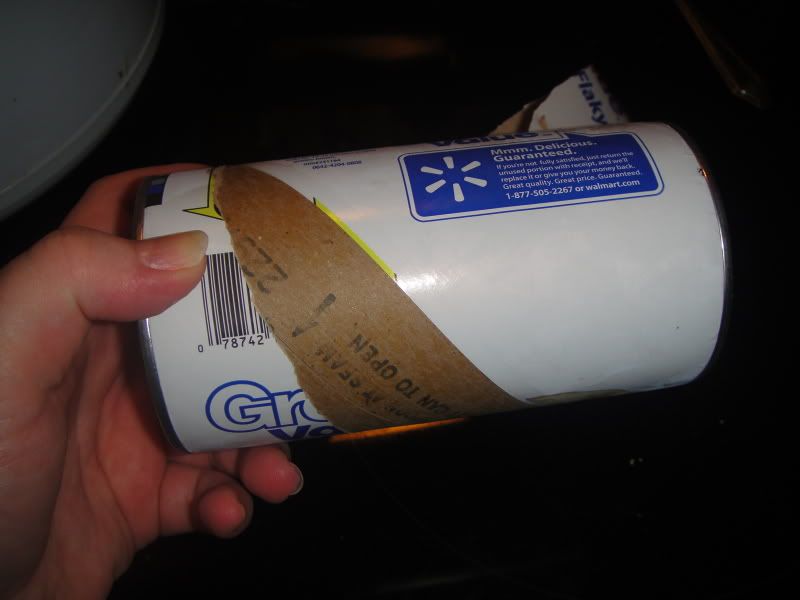
Now, in the background this has been cooking for 2ish hours, so time to make the biscuits!

Photobucket
Gah! I hate when this happens! It's that scary anticipation of it to pop and then it doesn't!!

  Photobucket
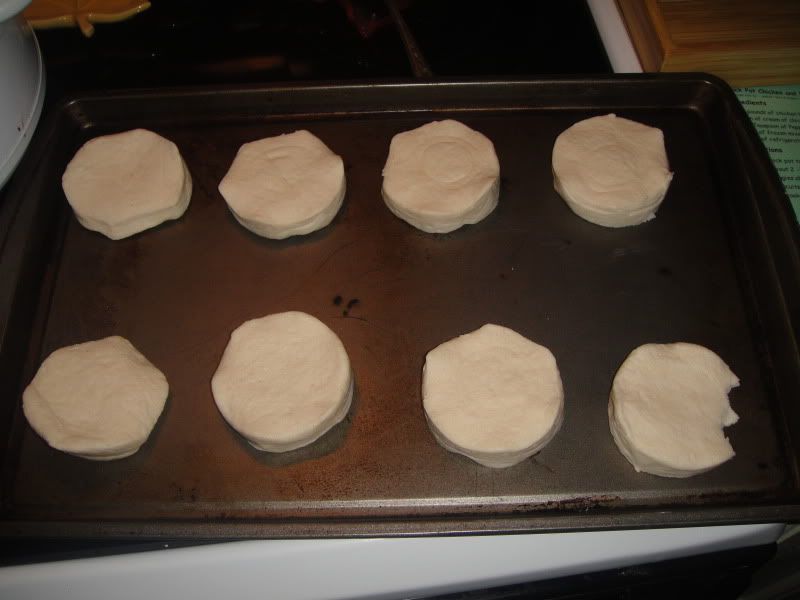
Easy peasy.You'll notice one biscuit has a bite out of it. Yes, I love raw dough and I always take one bite before baking. :)

Photobucket
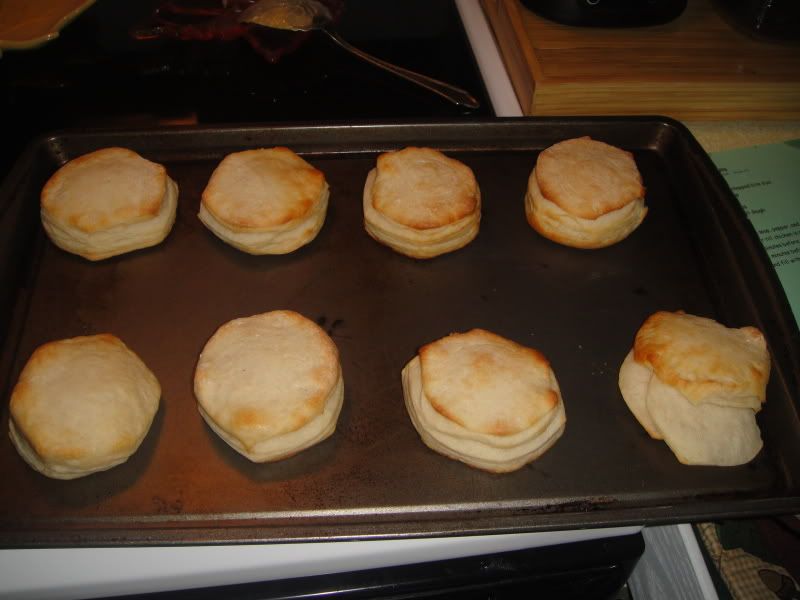
That poor biscuit got all deformed.

Photobucket
And there it is, after a couple hours! Looks pretty good! Good 'ole comfort food!

Photobucket
Delish!

I will say, it was pretty good! The only problem was the leftovers weren't as good. Heating up those biscuits makes them tough, so that kinda sucks. I would maybe make it again, but the whole short cooking time kinda screws me up.

Saturday, September 8, 2012

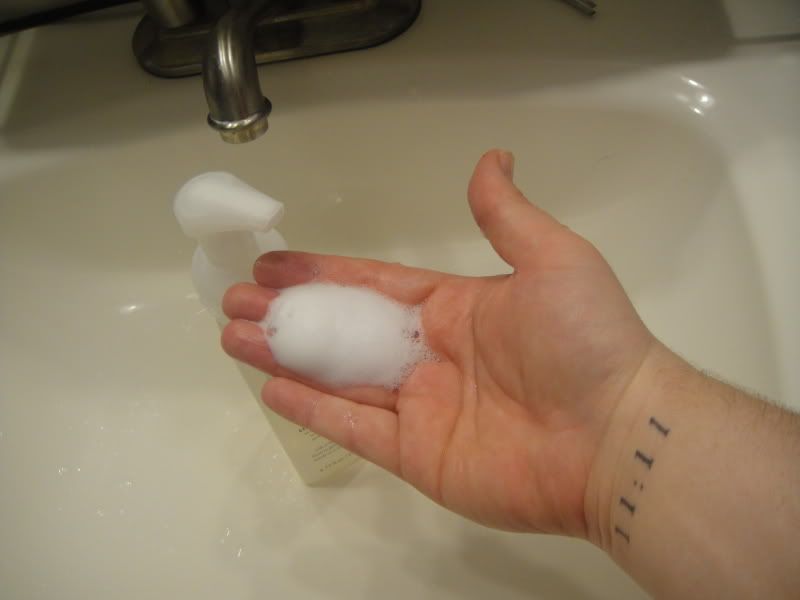
Forever Alone Saturday: DIY Foaming Hand Soap!

It has certainly been an interesting evening. I wake up from the most wonderful Saturday nap and shortly after, the electricity randomly goes out. I think it'll maybe come back on soon after. No, I ended up being without for nearly 2 hours. Sure makes for a boring evening when EVERYTHING in my condo runs on electricity. I was bored, hungry and getting more impatient by the second. I thought about doing this blog then, or at least making the stuff but realized I didn't have the instructions printed and didn't want to have to read them from my phone.

Now as I speak there are men outside my window in my grove cutting down trees. It's dark outside, so it seems a little risky to be running a chainsaw in the dark but YOLO. I guess when I hear a loud scream, I'll know someone chopped their arm off!

Anyway, this blog is way overdue. I've been lazy this week and didn't have the motivation to try anything new. Which now that I've made this, I realize how dumb it is because it's the easiest thing ever.

So I went with the DIY Foaming Hand Soap tonight. I have wasted so much money on Bath & Body Works products in the past but I've finally seen the light and realize they're a rip-off and so I haven't gone in there in well over a year. I do love foaming hand soap though, especially theirs. I don't really know why I prefer the foaming kind, I've literally analyzed it and can't find a reason but I figure making my own would help my pocket book some.

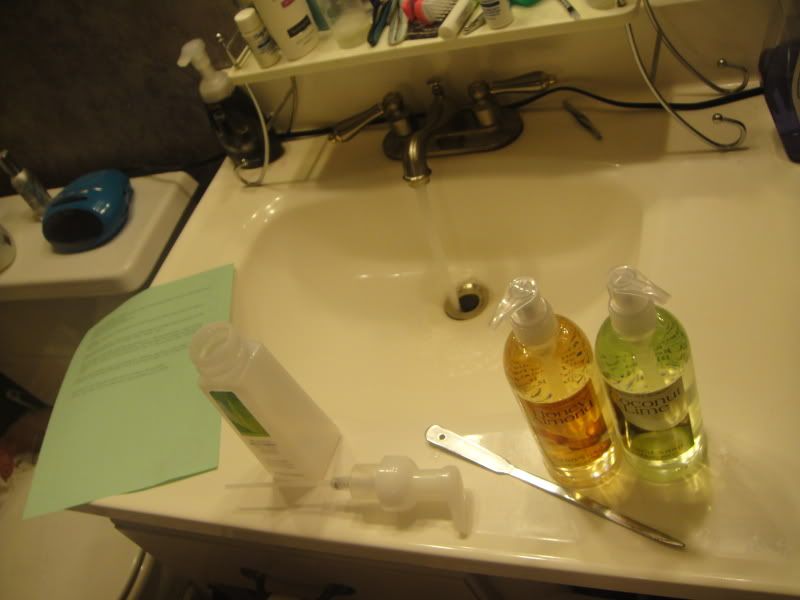
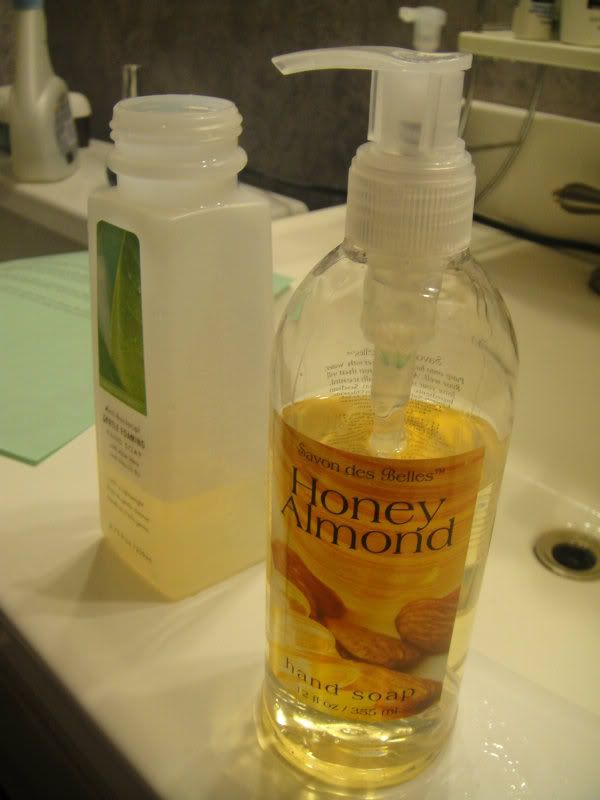
So here we go, the supplies I needed! I was at Bed, Bath & Beyond last week and they had these nice smelling hand soaps for $1 each so I picked up a couple to prepare for this! I had saved an empty soap bottle to refill. The original pinner matches the scent in the original bottle to the new one she fills. I'm not going to do that because I'm a rebel.
Photobucket


09-08-2012002
I decided to go with Honey Almond right now because I felt like it.
She said to fill up with soap to about the T on the bottle. Done! Also took this picture to show how little of my original bottle was used. I can probably make a half dozen more containers of foaming hand soap at this rate. SCORE!

09-08-2012003
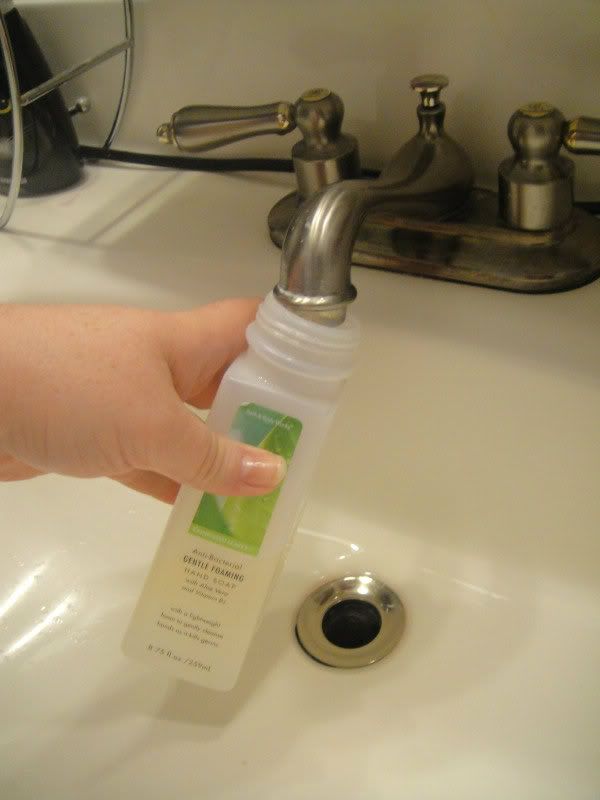
Then fill with hottttass water. The original instructions don't classify it as hotass, but I do. It's a very important detail you don't want to miss.

Photobucket
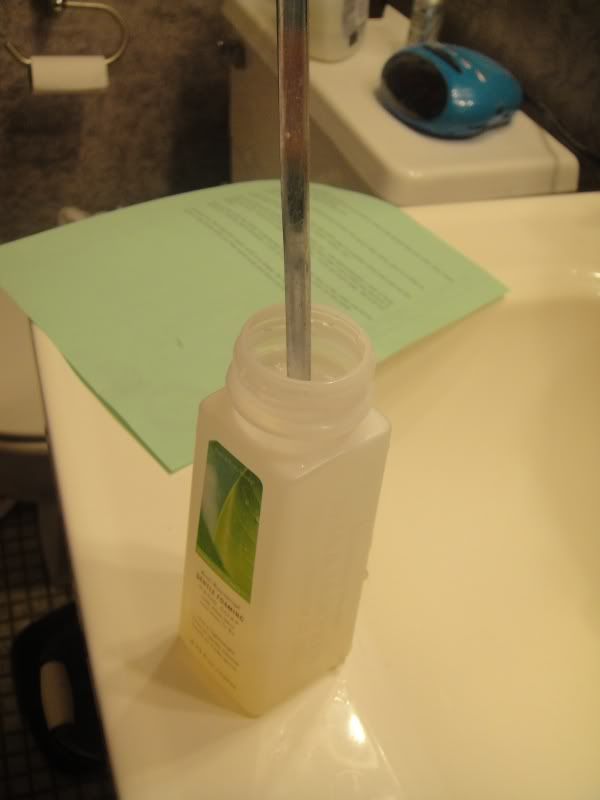
Apparently you don't shake it, you stir it. I used a letter opener because that's how I roll.

Photobucket
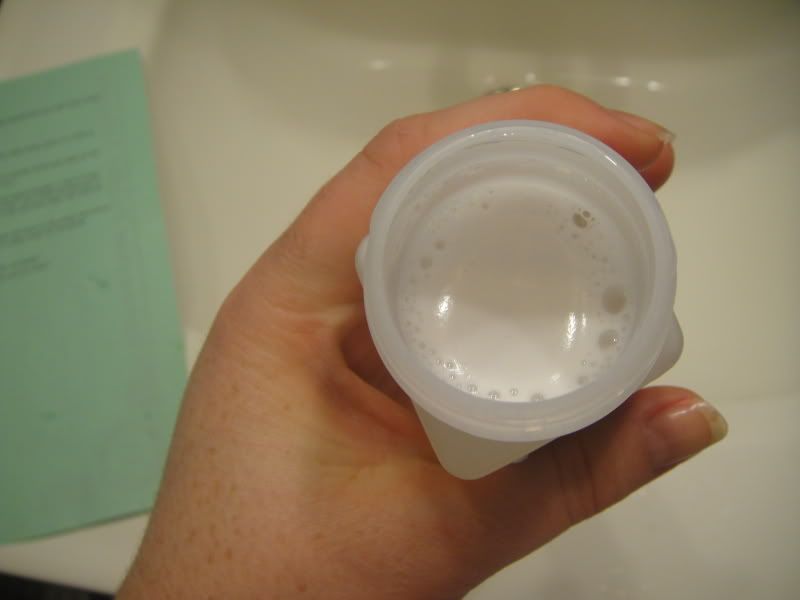
This is what it looked like. Probably mixed enough? Yes? Maybe?

Photobucket
And voila! Look at that! Frikken A I'm awesome.


So my review is that this is pretty damn sweet. I can make scented foaming hand soap in any scent, out of cheap hand soap and have more money to spend frivolously on booze and male strippers. Win Win!